How to apply hotfix crystals with an applicator
Preparation
- You will need a firm surface to work on such as a table top or work surface or a wooden chopping board; ironing boards are not suitable as they don’t provide enough support.
- The glue on the crystals are very strong. Place a sheet of Baking paper or Teflon sheet before placing your fabric.
- When adding crystals to sheer fabric or 2 layer fabrics example a shirt, its best to place a sheet of baking paper or a Teflon sheet between the layers to prevent the glue from seeping through and bonding any fabric layers together.
- Practice on scrap material before applying crystals to actual project.

1. Choose the correct size applicator tip for the rhinestone size you will be working with, the sizes are etched into the side of a tip. If you are unsure as to the size required place the tip over the rhinestone, the correct size tip will pick up the rhinestone.

2. The applicator tip fits on the end of the hotfix applicator, gently screw the correct size applicator tip into place.
SAFETY: The tips are hot. Make sure the applicator is switched off. When changing tips make sure the old tip is cooled down and use oven mitts to avoid accidentally burning your hands

3. Turn on the hotfix applicator, The Hotfix Applicator wand has an on/off switch at the rear. The applicator will take approximately 2-3 minutes to reach working temperature. Place the applicator on the stand. The tips get very hot and can mark the surface.

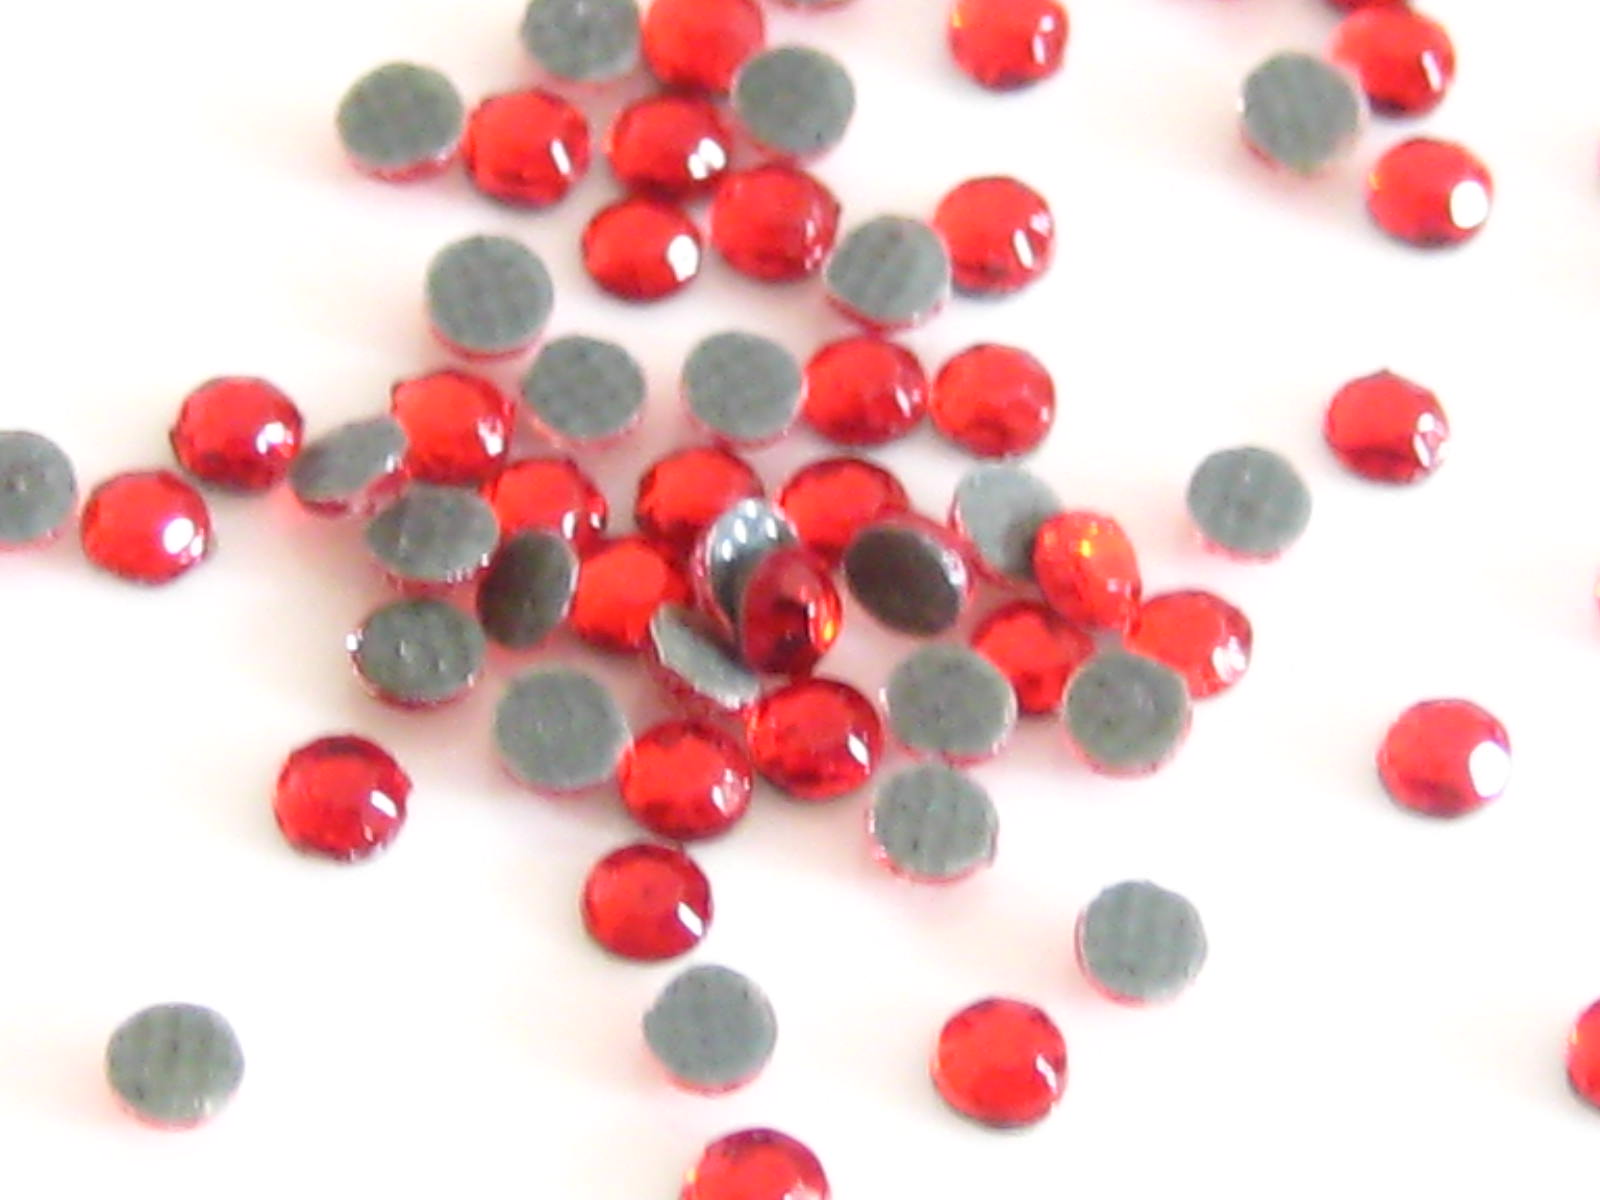
4. Place your hotfix crystals close to your material. Place the crystals on a piece of baking paper not on your actual work area as it can accidentally stick to the material.
Turn all the crystals so that they are facing faceted side up. (right side – shiny side should be up)
Applying the crystals

6. Once the tip has heated your ready to start creating the design, gently place the tip over a rhinestone to pick it up, but don’t press hard or the crystal may stick to the surface.

7. Once selected the hotfix crystal will sit perfectly within the tip.

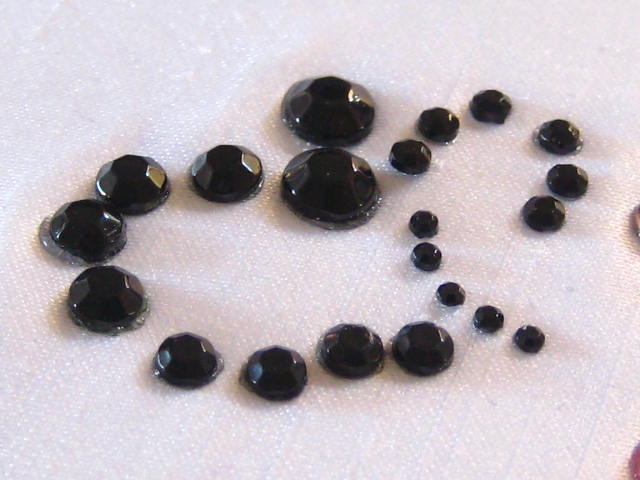
8. Small crystals will take less time for the glue to melt than larger ones, an ss12 will only take around 8 seconds where as an ss16, 4mm crystal will take approximately 10 – 12 seconds. Place the crystal on the fabric and hold.

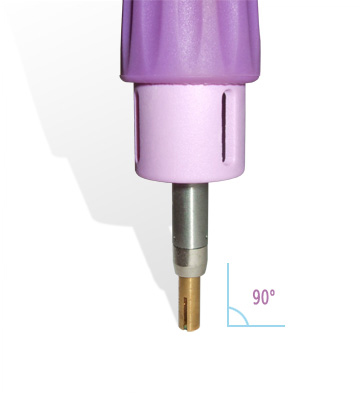
9. Lightly press the crystal onto the fabric holding the wand at 90° to the surface to ensure that the crystal bonds correctly. Hold for required time as per size of crystal. Remove wand

10. WARNING: When the crystal comes out of the tip the crystal is VERY HOT. Do not get tempted to touch the crystal as you will burn your fingers. The adhesive is wet and if you touch right away it will slip out of position. Allow the crystal to cool and then you can check to make sure the glue is well adhered.

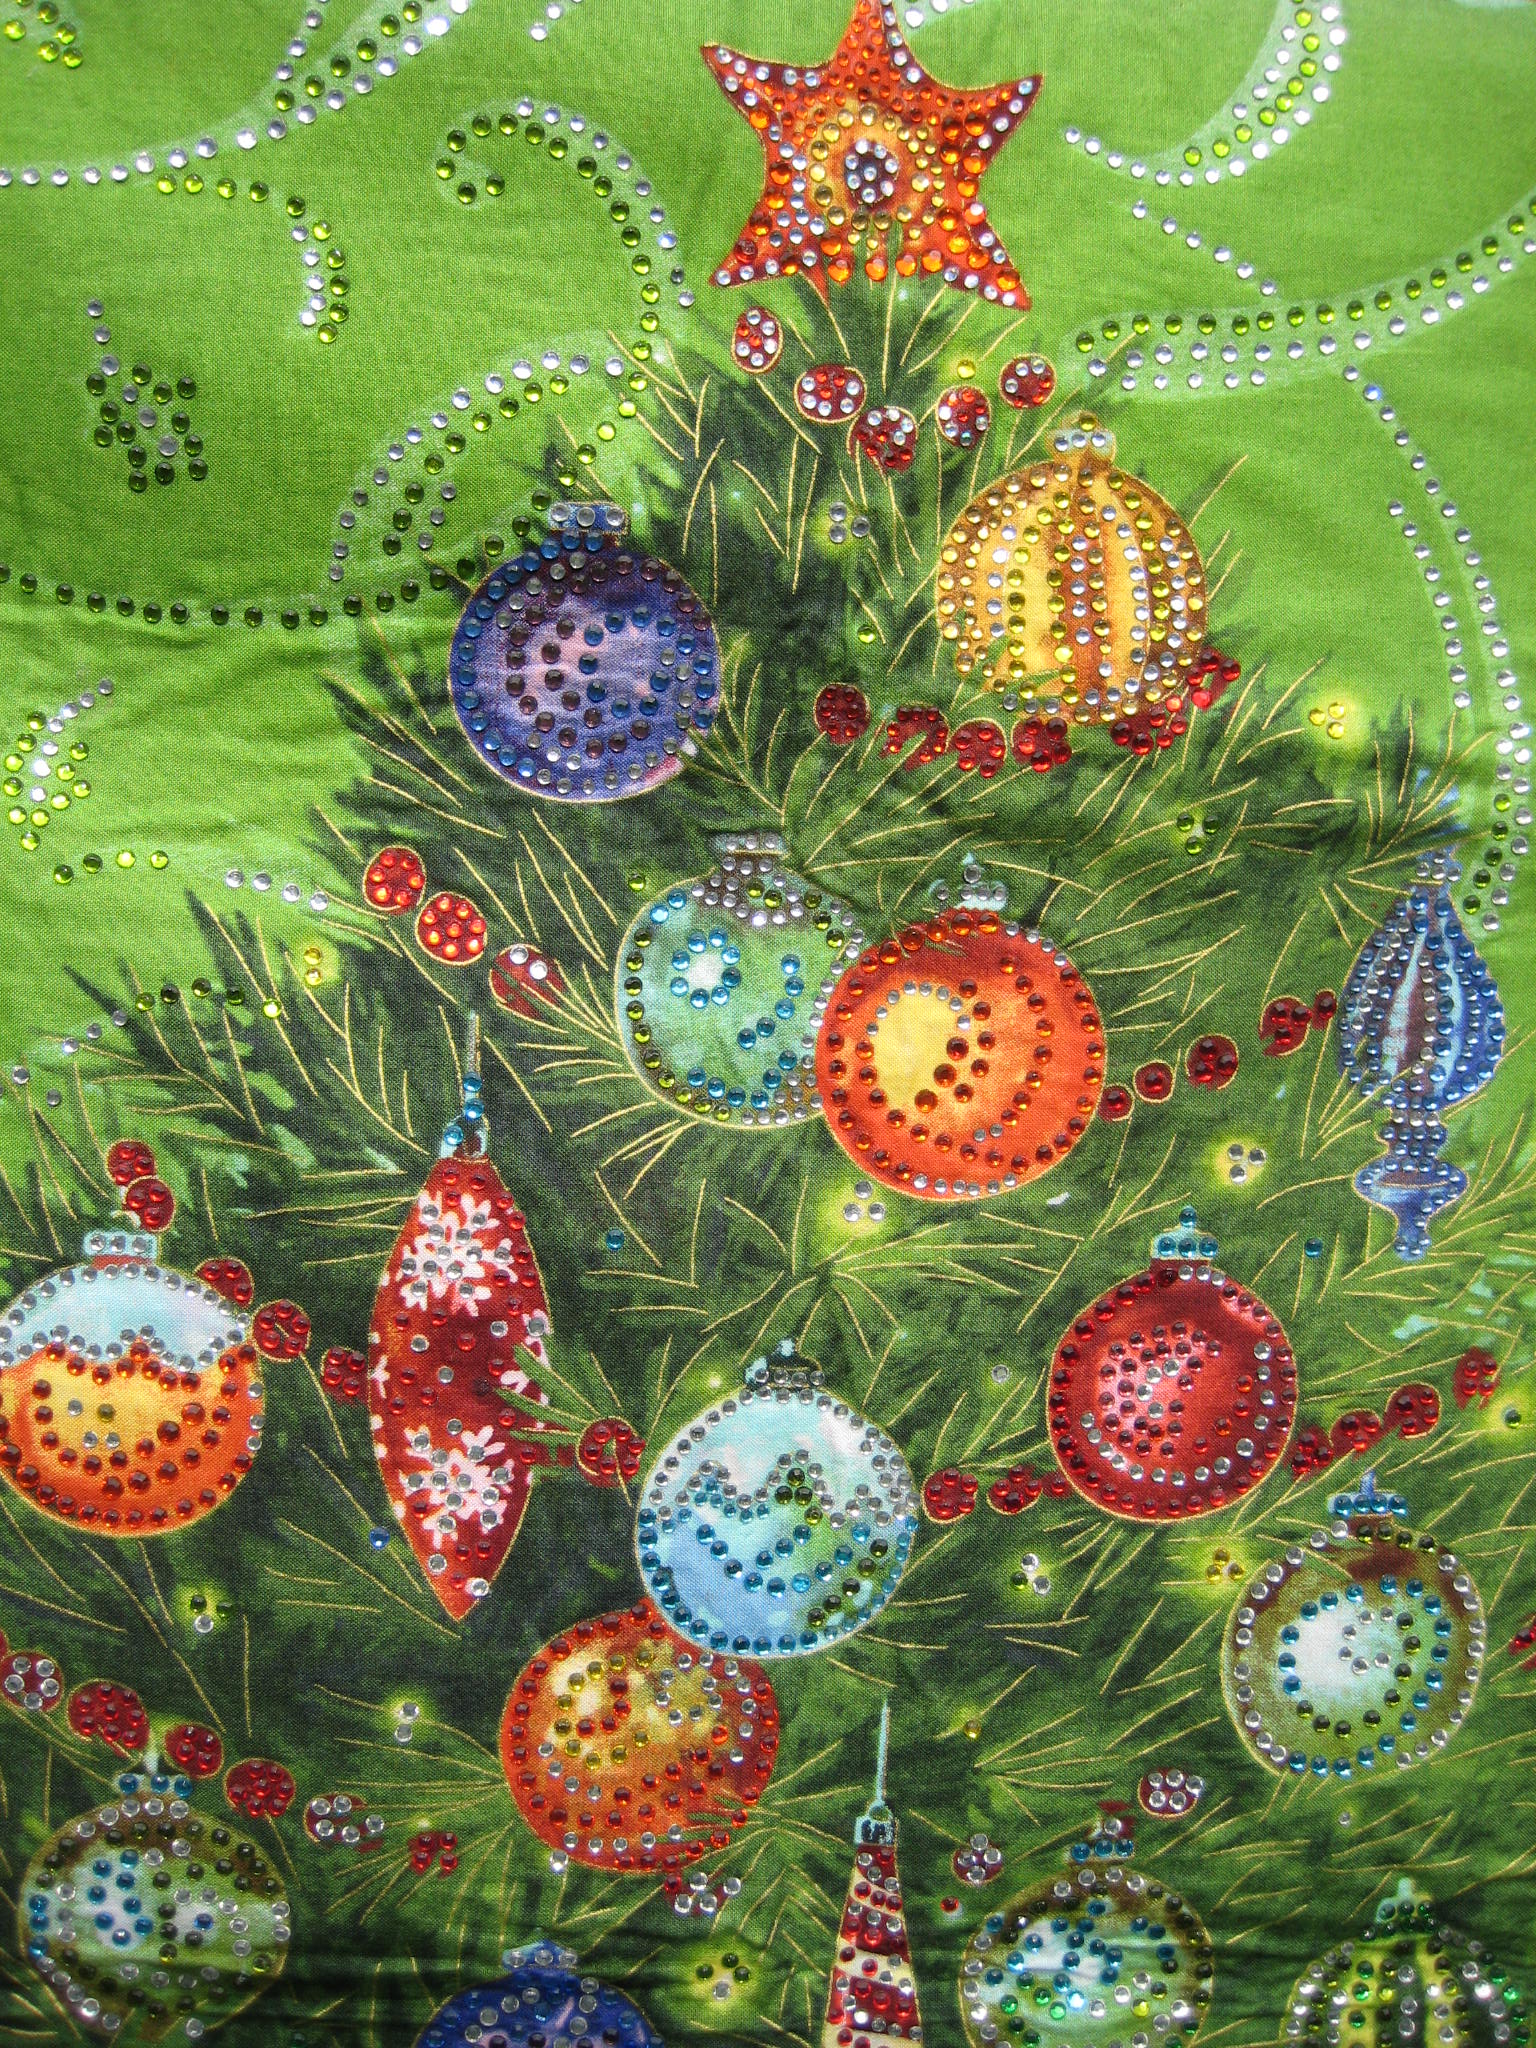
11. Add all your crystals to your project. Leave your item for 24 hours for the glue to cure. Do not wash the item within this time.


